You know, your dear Aunty has moments when putting a fork in my eye seems entirely appropriate. After posting about the ottoman project (see the last three posts), I was in one of those massive home center/lumber yard/hardware store/garden supply places (you know who you are) and I picked up a magazine (one which is based on a national home rehab show, I might add) and lo! And behold!
The first project in the magazine was on building a storage ottoman. Just one of those moments where the cosmos comes together and finds that the locus of all points is in upholstered ottomans. It happens. And then your dear Aunty read the article and it was ‘fork in the eye’ time.
Not only did the writer (and I assume this came out of the editor’s files or got thrown at a junior staff member like some sort of piece of old meat — “Hey, Mergatroid – you want some clips? Here: write this up!” – Don’t laugh; it happens; my first real publishing was just such an article on electric and composting toilets for a no longer extant home magazine published by Rodale Press) do up a nice neat tidy article with a graphic, a cut list, and an estimated cost; the article also included other offerings from various retail sites with the final estimation that it was not worth even trying to do it. Literally, it came down to: “Don’t bother; this is beyond you; just buy one of these.”
Cue the violins from “Psycho”.
The estimate in the article was $200-$300 for the ottoman.
Hello? What were they upholstering this in – the skins of extinct Mongolian wombats? Holy Hannah.
Now, I have to admit – I didn’t save every single little receipt for this ottoman but I can tell you that it did not cost $300. It did not cost even $200. I don’t even think I put $100 in materials into this.
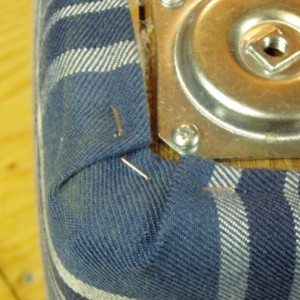
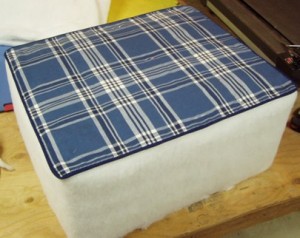
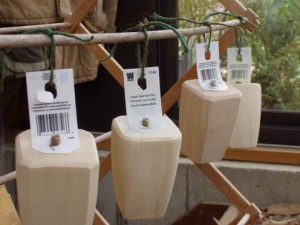
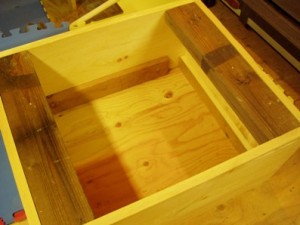
The feet cost me $3.79 each (plus tax). The plates for the feet cost me $.50 each because Lowes was putting in a new style. The half a batt of padding was about $7 and the upholstery fabric was about $15.00. The cover-your-own buttons were two packages at $5.00 each, so that is $10. The piping was approximately $5.00. And I have to admit that the DH made the box out of scrap lumber that we had around, but if we’d had to have bought a piece of pine 1″x12″, we’d have spent less than $20 for that. All told: $53.20. And I’ll throw in some extra just in case I’ve forgotten something and am not taking stuff into effect because we have a staple gun and staples and thread and needles in the house already – I’ll just say $75.00.
$200-$300. And they are also saying that in terms of difficulty, it’s ‘moderate’. I have to admit something here: My experience in terms of upholstery is minimal at best. I moved from the kitchen chair to the ottoman because it’s flat surfaces and I figured if I could do this, anyone can do it. Seriously. If someone asked me what a ‘moderately difficult’ upholstery project would be, I’d have to say that it would be something like a small upholstered chair that needed small repairs and a slipcover. ‘Difficult’ or ‘challenging’ would be something like having to tear down a chair or a couch to the frame and doing the whole web/re-springing/creating entirely new cushions, etc. sort of project. So, I think calling an ottoman a ‘moderate’ difficulty project and estimating the cost to do it at $200-#300 is vastly over the top. Even with putting in a hunk of ‘piano hinge’ and one of those children’s toybox supports, it’s over the top (plus there are other methods of doing this and I’ll be damned if I don’t do it sooner than later just to show you it can be done). OK – and if you want to see the article and the cut list and so on, see here: How to build a storage ottoman
And it is frankly that sort of thing that a) drives me crazy (cue the violins) and b) makes me a bit angry because I feel it discourages people from doing things for themselves. I can see readers looking at that article and saying to themselves, “Oh, I can’t afford that and it looks too difficult and hard – I’ll just go down to Target or Home Goods or something and buy one there.”
And they do. And it’s from China and was probably made by a 13 year old kid with a pneumatic nailer who’s sleeping on a floor in a dormitory and being fed a half a cup of rice a day and is making $10 a week, if that.
Trust me: If I can do this, YOU can do this. Seriously. If you don’t have a saw at home, you can get the guys at the home center to cut the pieces of wood to size (Use the wood cut list from the article, or I’ll get you mine – btw, you don’t have to use birch-faced plywood: you’re upholstering it. Regular plywood will work fine, as will 1″x12″ pine boards. Birch-faced plywood is used for making furniture which you want to stain, so that you want an outside surface that looks really nice. Birch-faced plywood is what custom kitchen cabinet guys use). After that, just follow my tool list and instructions.
Don’t be discouraged by stuff like this though. Just infuriates me…


