
 Your dear old Aunty realizes that this might sound a bit silly, but there are people in the world who have never made an apple pie and who dearly would like the experience of making one. And at this time of the year (at least in cooler parts of the world), the availability of apples is pretty much at its height.
So, what will you need to make an apple pie? (again, I realize this might seem like a bit of a silly question)
You will need:
A pie pan (glass or metal does not matter)
6 BIG pie apples
A little flour — 2 tablespoons
1 tsp of cinnamon
1/4 tsp of nutmeg
Pie crust*
*For those out there who do not have experience actually making their own pie crust, I advise just buying a package of either a mix or even easier, a package with two already rolled out pieces of pie crust. If you want to go for the entire experience, the recipe for your aunty’s pie crust is below.
Pie Crust (this makes crust for a two-crust pie – that is, a pie with a bottom crust and a top crust. If you want to make French apple pie or Dutch apple pie, with a bottom crust and crumble topping, then cut all of these in half):
Put in a bowl:
2 cups of flour (pastry or all-purpose are fine; do not use bread flour)
1 tsp of sugar
2/3 of a cup of solid-at-room-temperature (lard, butter, margarine) shortening (for stick shortening, that is two sticks, cut at the 5.5 tablespoon area – you’ll end up with two short pieces for the fridge). THE SHORTENING SHOULD BE CUT UP INTO LITTLE PIECES.
Take a pastry blender and cut the shortening into the flour and sugar until the pieces are teeny weeny (like, really teeny).
Add enough cold liquid of some sort (milk, water, juice) to make all of this clump together — start with 1/4 cup and work your way up. To make this, I think I ended up needing at least 1/2 cup.
Use a fork to pull all of this into a big ball. If there are still bits of flour try to get it to cling to the ball; if it doesn’t, add a tablespoon of cold water. You want one big ball of pastry. Divide this into two equal pieces. Roll out one on a floured board, or your floured counter, so that it is large enough to cover the outside edge of your pie plate. To measure, just turn over your pie pan on top; as long as the dough goes past that edge, you are good to go. Fold the rolled out dough in half (you might need to use a scraper or a spatula to help you if it’s stuck onto the board or counter) and then in half again. Place the corner at the center of the pie pan and unfold it so that the dough extends across the bottom and up the sides of the pie pan. Put that aside. Roll out the second piece of dough to approximately the same size. This is the top crust.
Now back to the pie.
If you have no interest in making pie crust and have bought a package, follow the instruction on the box for that.
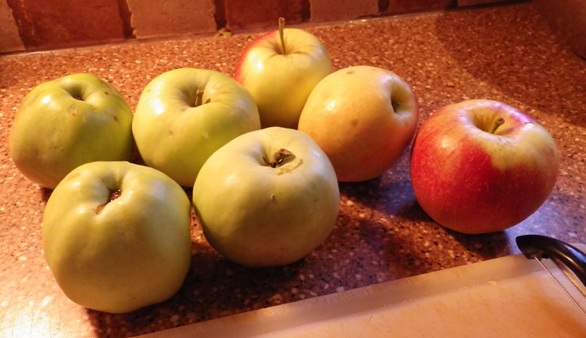 In the meantime, take out your apples. I used a combination of Honey Crisp (for sweetness and softness) and Northern Spys (for tartness and the ability to hold together in a pie). Peel the apples and cut into quarters.
A short digression: Which apples are best for pies? Well, a lot depends on where you are in the world and what varieties are available to you. Texture is pretty much everything ( taste can be modified through sugar and spices), but the best apples for baking (pies, apple crisp, apple dumplings and so on) are apples that can hold their shape under heat. So you want an apple which is, when you eat it fresh, crispy – even hard. Apples which are softer, such as Macintosh, are great for making apple SAUCE, but basically fall apart in a pie. You can mix varieties of apples in a pie, too.
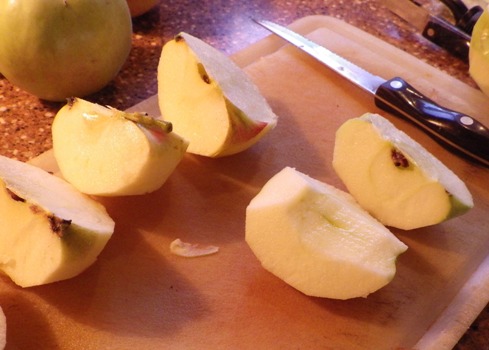 OK, back to the pie. So you’ve got apples peeled and cut into quarters. You also want to get rid of the centers of the apples, where the seeds are. As shown in the photo, cut enough of the centers of these apple quarters away so that you get not only the seeds but the little seed cavities (which tend to be tough). Then slice the quarters into four pieces (if you are working with smaller apples, you’ll probably get three pieces of apple out of each quarter.
Put them into a big bowl and also put in 2 tablespoons of flour, 1 tsp. of cinnamon, 1/4 tsp. of ground nutmeg and sugar. If you are working with really tart apples, you might put as much as 1/2-3/4 cup of sugar in with the apples, but since I used a combination of sweet apples and tart apples, I went with 1/4 cup of sugar. Toss the apple pieces with the dried ingredients – your apples should now look like this. 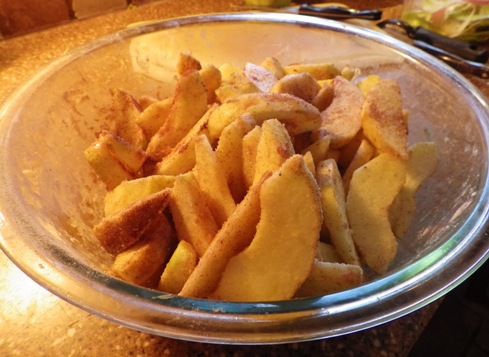
Preheat your oven to 425 degrees F.
Put the apples into the pie pan lined with the dough. Now, in your mind, if you’ve never made a pie before, this may look like a LOT. Remember: As the pie bakes, the apples are going to cook too, and they will cook down, so in order to end up with a piece of pie that actually has enough apple filling that it looks the way you want it, you really NEED a heaping amount of apples in your pie plate.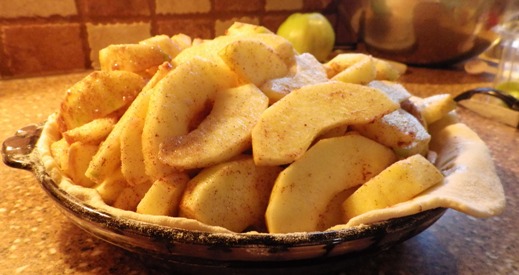
Then take the other dough and drape that over the top. It should extend way beyond the edge of the pie pan so that the apple filling is completely covered. Take a knife and trim around the outside edge of the pie pan. Then take a fork, dip it into water, and press it around the edges of the bottom and top crusts, around the edges of the pie pan to hold them together. 
Put the pie on the shelf in the middle of the oven. Also, at the same time, put a cookie sheet on the shelf BELOW, to catch any drips. Bake at 425 degrees F for 10 minutes and then turn the oven down to 350 degrees F.
Bake for 30 minutes and check it. (how do we do that?) Things to look for:
Is the crust getting brown?
If you stick a skewer into the pie, does it go easily through the apples, or are the apples still crispy?
If you stick a temperature probe into the filling, is the temperature 200 degrees F?
If none of those are happening, then your pie is not ready and put it back for another 30 min.
You might, however, have browning on the crust – but the rest of the pie is not ready. How do you make sure the pie filing gets cooked but the crust doesn’t end up burning?
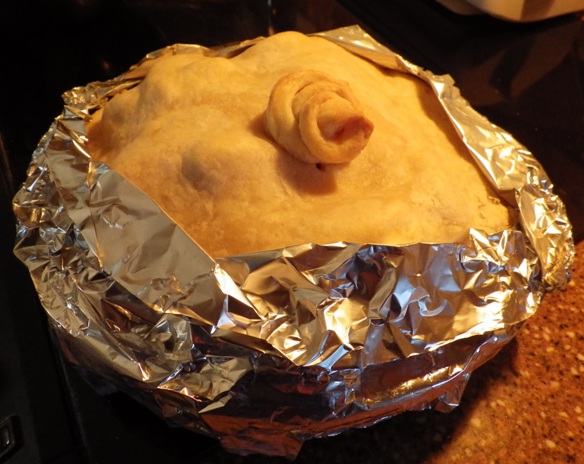 You use a bit of protection. You can actually buy silicone rings that go over the edge of the pie, but in this case, because mine is too small for this pie pan, I used two strips of aluminum foil folded around the edge and crumpled together to hold the heat away for the last thirty minutes of baking.
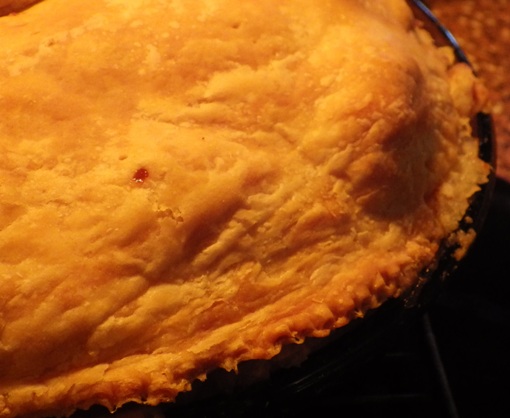
After this thirty minutes, I took the temperature of the filling again and since it was 200 degrees F, I took off the foil, left the pie in the oven for another 10 minutes for the crust to brown the rest of the way and it was done.
 Apple pie.
UPDATE: I found a terrific chart of apples and their uses from Washington State University: Apple Use Chart
