 So, let’s get down to business, shall we?
First things first: How are we going to close up the pillows? Well, yes, I can leave one edge completely open, stuff in the pillow form and then whipstitch it closed. Which I hate because it frankly requires me to keep the pillow form under some sort of control while I’m doing it. Very tiresome. I could also do a double flap and put in buttonholes and buttons. But I’m not going to do that either; I’m just going to put in a zipper. This makes stuffing the pillow very easy and it’s a neat and tidy closure. There are two ways to do this – in one of the seams (and if you follow directions on the package the zipper came in, then you are home free). Or, I can split the back into two pieces, make a seam there and insert the zipper in that seam.
Which is what I’m going to do and what I’m going to demonstrate for you here.
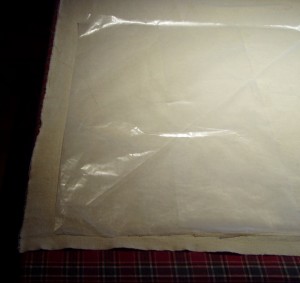 Now, this photo is not terribly interesting, but it is here to remind us of something really important which is to make sure you leave enough extra on the back piece to accommodate the seam. If you just cut out the back piece and then split it, it will end up being too small. So. Put your pattern piece on your fabric and add 1-1.25″ extra along one side.
On the side which you put extra on, measure in about 4″ and mark that in some way (pencil or chalk line, line of pins, whatever).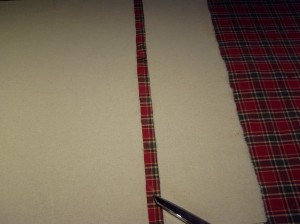 Cut along that line all the way across. You now have your two pieces. Pin them, right side to right side and sew together, using a basting stitch. Press open and then find the center of the seam and mark that. Then take your zipper and find the center of the zipper and mark that. What we want to do is center the zipper in this seam; this is not like putting in a neck zip where we start at the top and work our way down.
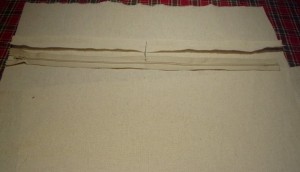 Match up the center marks on the seam and on the zipper. Unzip the zipper and holding it so that the right side of the zip faces the seam, attach the center of the zipper to one half of the seam, matching the teeth to the seamline itself. Using pins, and alternating left and right, attach that half of the zipper to that piece of the seam allowance until you’ve got that entire side of the zipper attached from the top to the bottom of the zipper. Now, depending on how confident you are, you can either go straight to the sewing machine and using your zipper foot, sew on that side of the zipper through all layers, or you can handbaste that side of the zipper down firmly and then sew it down with the sewing machine. Once you’ve done that, zip the zipper up all the way, put in a few pins to secure it and sew the other side of the zipper, top to bottom or bottom to top, depending on how you sewed the first half.
Using a small sharp set of scissors or a seam ripper, undo a few stitches where the bottom and top stops of the zipper are so that you can find exactly where those are. 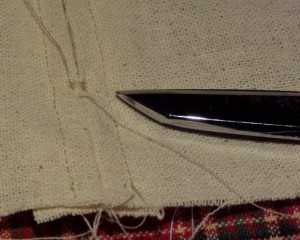 Either by hand or using the sewing machine zigzag stitch, bar tack at both of those places so that the ends do not come undone.
Now the back of your pillow is done. Unzip the zipper at least part way for this next step (because if you don’t, you’ll have to undo one side to get at it to do it, so trust me on this one).
Take the front of your pillow and right side to right side, pin all the edges around and sew them. I like to do one edge at a time, which means that the stitching at the corners criss-crosses, but that’s me. Once you have done all the sides, trim the corners at 45-degrees, stick your hand into the open zipper (ah-ha) and pull the pillow cover right side out. Poke out the corners to make them square.
Take your pillow form and put it into the cushion cover. You might have to roll it a bit to get it inside and down into the corners firmly. You will see that the opening where the zipper is will splay out a bit – trust me, this does not mean the cover is too small; as a matter of fact, what this means is the cover will fit nice and firmly around the pillow form, which is what we want.
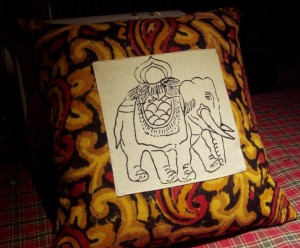
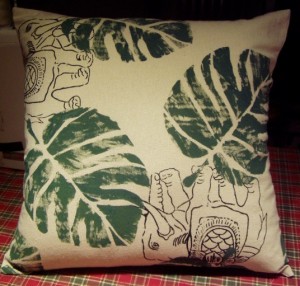 Zip up your cover and voila – you are done!! (just a note about this photo – I created this fabric by screen printing our little elephant friend on fabric and then stenciling the leaves on top; I’ll cover how I did that in a future post)
