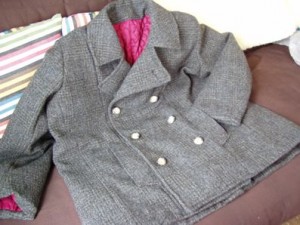
 For those of you who followed my last little paper doll experimentpaper dolls for peacoats
to deal with making the changes in my son’s peacoat, here is the final result. It basically looks exactly like what I wanted it to. I lined it in quilted nylon (fabric.com – and I think they still have some). The one thing I did differently is that standard peacoats have buttonholes on both lapels which is great in the Navy but I wanted this to be a little bit dressier, so to secure the unbuttoned lapel, I used this.
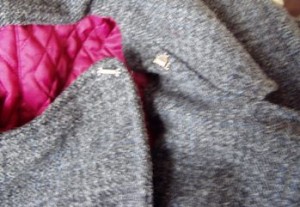
That’s right, a skirt fastening – it’s flat, unobtrusive and works. The actual fastening part on the lapel is on the BACK side of the lapel so when he is wearing the coat with the lapel’s open, no one will see it.
OK..back to the paperdolls.
My next project is skirts. I love skirts and can’t find wool ones (nice or not) for anything. I suppose is if I got into thrifting, I could hunt for the long wool ones from the late 80s and 90s but I wanted to make some of my own. I already have a summer store-bought (horrors!) that I wear a lot because it’s a good shape for me so I looked for a pattern to match (I realize that the skirt itself is actually simple enough that I probably could to a ‘rub-off’ pattern but I wanted one with a yoke because I think that fits better on my hips – your hips may vary). This is Kwiksew 3372.

My only beef with this skirt is that there are (grrrr) no pockets. This is one of the features of women’s clothing that annoys me no end. Where are mom’s supposed to keep hankies, fuzzy candies, etc.? We need pockets. So, here is my way to add pockets where there is no pocket, a la the paperdollies again.
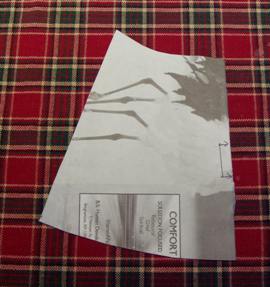 This is the basic shape of the skirt body itself (I ignored the yoke since I knew that at the end, the whole thing would be sewn to the yoke anyway). There is nothing particularly crazy about this – it’s center cut on the fold of the straight grain in the front; the center back is cut on the selvege with allowance for a seam for a zipper. But no pockets. How to put in pockets?
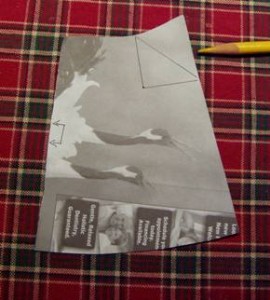 My handy pencil is showing the hip edge on this, which is where you want to put on a pocket. Now, there are lots of pockets I can put on – I could put on a patch pocket on the front or pockets into the seams (which I don’t like particularly; I think they make me look really hippy); I like pockets inserted like the ones in blue jeans, where there is a part of the pocket that becomes the upper part of the skirt that fastens onto the back of the skirt in the hip area. If my explanation is not clear, pick up a pair of blue jeans and take a look. But how to change the pattern I’ve got into a pattern for a skirt front with that sort of pocket? Make a copy of the skirt front pattern, full size (I use waxed paper; it’s cheap and I can see through it). Using something you already have (like a pair of blue jeans), look at how big the pockets on that are, length, width and shape and make a mock up of that in newspaper. Also look at how far down the hip side from the waist the edge of the pocket actually is and measure that down from the top and write that down. So, now you have the measurements for the pockets. Using that measurement down from the top at the hip side, mark that on the hip side of your pocket and draw a slanting line from there to the top of the pocket at the waistband level. Take another piece of waxed paper and, laying that over your pocket pattern, copy that slanting line, the inside line of the pocket (the part that would be closest to the center zipper), the bottom of the pocket and the bottom of the pocket going up to the hip, meeting at the slanting line at the hip. Cut that out, too. That is your pocket facing pattern. Take THAT and put that on the waxed paper skirt pattern and line it up with the waist edge and the hip edge and draw a line on the skirt pattern, along the slanting line. The piece of the skirt pattern above that line is no longer needed, so you cut that off.
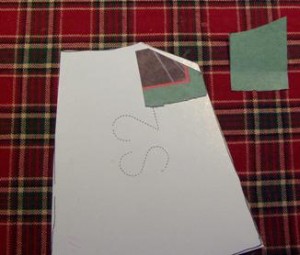 And what you end up with when you do that is this: three pattern pieces. A skirt front pattern which has been modified to accept a pocket. A pocket facing piece that you will sew (right to right) at that slanted edge and flipped inside. And the pocket back which you will sew to the pocket facing piece, iron down, and match up to the waist and hip edges. Once you do that, the skirt will look like this:
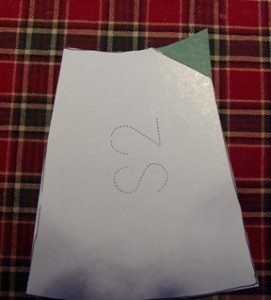 You can no longer see the pocket facing which is inside the skirt. All you can see is that pocket back which will now be sewn to the back part of the skirt at the hip edge.
And when you do THAT, you end up with a skirt with pockets which looks like this (minus the lining, which I have to put in today). 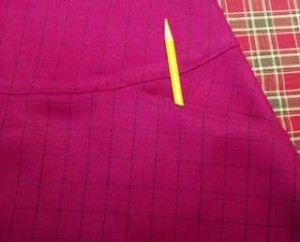
So, if you find a pattern you like but it doesn’t have pockets, do not despair.
