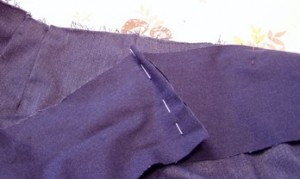
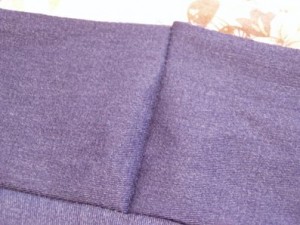
 There are places in sewing an article of clothing that I like to call “drop dead points”. These are places where if you make a mistake, you might as well pitch the entire deal as trying to fix the item becomes truly onerous. The first one is at the cutting out stage; if you don’t measure your important bits on the paper pattern, you could end up cutting out the wrong size. Even if it’s too large, it’s a pain in the neck to fix. One of my favs is putting on a waistband. There have been a number of times when I’ve made slacks or a skirt which ‘seemed’ to fit me perfectly and then after I put on the waistband, the item looked hideous.
Waistbands are tricky like that. When you put the waistband on, you are raising the item on your body. And then there is the whole ‘weight gain and/or loss’ thing. I tend to gain in the front of my stomach and even if everything ends up the same circumference, more inches in the front pulls the item toward the front, throws off the side seams, and generally makes your Aunty extremely grouchy. Same deal when I lose weight – the front drops down because the waistband is too big. Fixing a waistband is one of those onerous tasks that causes more women to end up putting safety pins in than any other, I think.
Enter the DH – or more correctly, the DH’s dress slacks, which I have taken in and out on numerous occasions when he, too, has gone through some body changes. This was not a terribly difficult task, as men’s dress slacks have a waistband which is split in the center back. As a matter of fact, the two pieces of the waistband are put onto the center back seam without it being sewn all the way first (the light is beginning to dawn, right?), so that tailors can make their adjustment without having to take the waistband off first.
Women’s clothing, on the other hand, generally has a one-piece waistband on it. To fix a problem you have to take the entire waistband off and then do the adjustment at whatever seam and then fiddle around with making the waistband smaller and yada yada yada. Hair-pulling ensues.
 So, since I don’t want to have to do THAT anymore, here’s what I did:
I measured all the way around the waist on the pants and added the amount I would to put the pants closures on. Then I added an inch for every place I was going to split the waistband.
I split my waistband actually in two places (the zip is in the left side seam): the right side seam and the back center seam.
I opened up the center back and side seams of the pants about two inches, applied the waistband pieces there, sewed up the waistband seam and the side seam and the waistband seam and the back center seam in one go.
I folded over the waistband, sewed it down.
Done. Best fitting waistband I ever had. And if I need to take it out, I can just open up the waistband where I sewed it down at the the back center seam and the side seam, open the waistband down as far as I want to get more breathing room, and resew it.
I will, in the future, do a version of this on ‘store bought’ slacks and blue jeans so that you can see that you can use this same technique to rescue these pants also.
