
 Although I’m really someone who likes to have food put by, I’m not into just freezing or canning just to freeze or can. The point really is to produce something that you and your family are going to want to eat later on. For the longest time, I made the big mistake with freezing veggies of blanching them far too long and then when we reheated them from the frozen state, they turned to mush. Made it hard to get the Little Siberians to eat their home grown veggies in January.
Snap peas are just coming into the farmers markets here in Upstate New York and I’m going to use them as a demo of how to do freezing Chez Siberian Style. You’ll end up with snap peas in small enough packages that you can just open, pour into the wok, fry pan or whatever and they taste really good and crunchy – not exactly ‘just like fresh’ (shoot – I did ‘cook’ them for 10 seconds for heaven’s sake), but definitely crunchy, sweet, not starchy, and not mushy.
Whether you do ‘pick yer own’ of buy off the stand, your job is to get them home ASAP. If you buy from the farmers, they’ve picked them early in the morning – so get them as early as you can. The earlier in the day, the better. Get the pea pods home and rinse them several times to make sure you get any dust, dirt, dead pea blossoms, and the odd bug off. While you are doing that, put a big pot of water on the stove to boil. I’m using a great pot we got years ago that has an insert you can pull out; it was originally meant as a cooker for things like asparagus or corn, but we use it because we can blanch things really easily with it. Although I have not seen another pot like it, something that looks as if it would work about the same are the pasta steamer inserts for big pots. They have handles and you could get one just one size smaller than your pot and still be able to use it and life it out (you might want to rig some lifting out handles out of …mmm…a heavy duty wire coat hanger so that you hands don’t get near the water). At the same time your water is boiling up on the stove, fill your sink with really cold water; if you can’t get really cold water out of your tap, also throw in some ice cubes.
Take off the heads and tails off the pea pods and fill your steamer basket, colander or whatever you are going to use to put the peas into the pot of boiling water.
Blanch and leave for a count of 10. No more. Pull out your basket/colander/whatever and drain until all the hot water is out. Empty the peas into the colander in the cold water and swish around. Pull out the colander and drain really well; you want as little water on the peas as possible.
Take a clean cookie sheet and put the peas on it in as few layers as possible and put into your freezer until they are totally hard. Take off the cookie sheets and use whatever freezer packaging system you use – ziplock(tm) bags, Seal-a-meal(tm), etc. and put in only as much as you think you’d use in a recipe – 1-2 cups is usually enough. With this method you won’t end up with a solid block of pea pods, so if you use a ziplock(tm) bag, then you can always just open it up, take out what you need, and reseal.
This same exact system (except for not having to do the blanch and cooling) works extremely well for all small fruits such as strawberries, raspberries, blueberries, and pitted cherries. For larger fruits such as peaches, we use a slightly different system which I’ll go over at peach time in August.
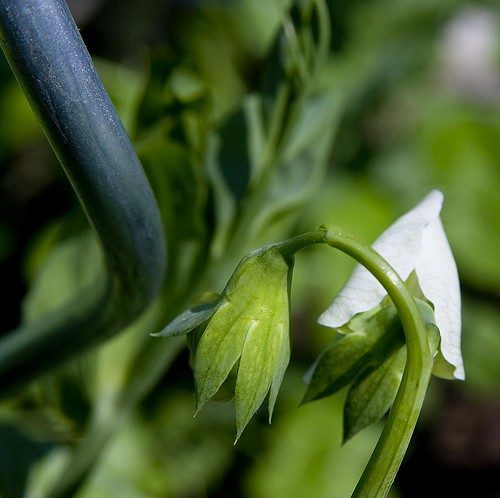
(snap pea photo at the top courtesy of Jeff Cushner)
