
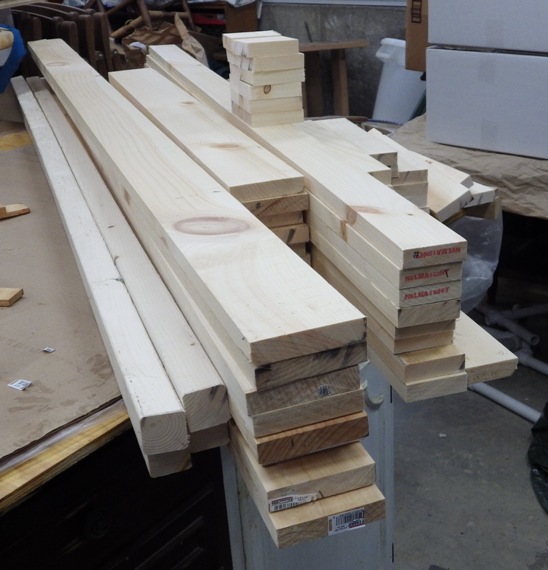
 The DH and I took on a project this fall to built bunkbeds for the grandkiddos to use when they spend the night with us. The youngest is now out of a crib, so it was, we felt, a good time to rearrange things in the guest room (cough, deal with the fabric stash, cough), recapture some space and do something that the little ones would enjoy. So, I went to the internet and found a set of plans for modular bunks.
The big difference between these and other plans is this: Instead of building two twin beds that get hitched together at the headboard and footboard and if you take them apart, are still two twin beds, these plans make four giant ‘ladders’ which are then either screwed together or bolted together to make the bunks. Then you put in the mattress supports and the mattresses and voila. If you no longer want bunks, or you are only using them on a temporary basis, then you can unscrew the corners and store the four ‘ladders’ and so on.
If you’ve never taken on a project like this, here are some things I learned that might help you.
1) Never underestimate the chance that something in the plan is wrong, forgotten, mis-stated, or missing. Something I should have done was, from the beginning, match the various instruction sections with the diagrams with the cut list and the materials list. But I didn’t and found myself with one of the long panels missing two of the rails because I’d missed the fact that there was no item on the cut list labeled, “2, 1 x 4, 63 inches long (short, upper side rails)”. So, we ended up back at the lumber yard and since 63 inches is a really odd length (bigger than 5 feet but shorter than 6 feet) and dependent on what was available in the rack that did not have giant knots in it, we actually ended up having to buy 7 foot lengths. Well, there is no such thing as useless scrap, eh?
2) If you have the option, when buying pine, of getting what is referred to as ‘clear’, then get THAT, even if it costs a bit more. We did not, choosing the best we could find in the racks (straight, smallest knots and so on) and I have spend countless hours ladling on coat after coat of wood filler and sanding, sanding, sanding. Buying clear would have been more expensive but in the end would have cost me less in terms of time.
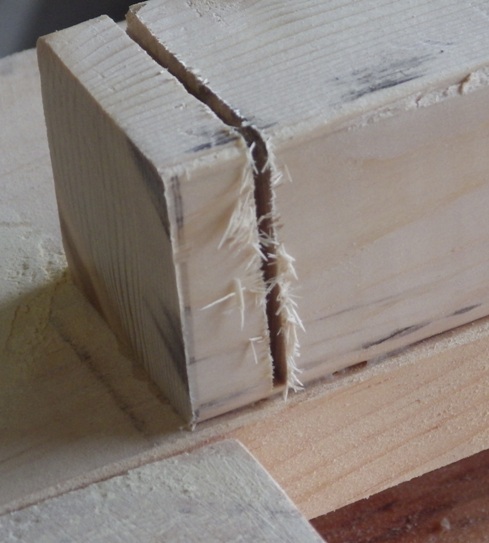 3) Really take the time to read, multiple times, the plans and descriptions because sometimes, things are not exactly clear. Here’s a good example in the photo here. The mattress support system on these bunks start with 2″x2″ pieces of wood which are screwed and glued along the long ‘ladders’ on the inside. So far, so good. But there was no note in the directions such as ‘make sure you have 1/4″ clearance between the uprights and the supports,” and so… as you can see, we ended up with one end overhanging the upright. The DH, bless him, took out his handy circular saw and oh, so carefully lowering the blade so that it would NOT cut into the upright, he cut the offending end. So, then we had this, as you can see in the photo, little chunk of wood that was glued onto the frame. How to get that off? Well, if I had one of those special Japanese flat saws which can cut flush with a surface, I could have used that. But I don’t and I don’t have wood chisels either (shame on me), but I do have a small putty knife and a hammer and we knocked out that chunk of wood in jig time. Whew.
But, how did I end up in that situation to start with? Well, yes, I read the instructions and looked at the diagrams and empirically, I understood how the ‘ladders’ came together, but until we actually clamped everything together this morning, I did not really understand the issue – and having that overhang knocked that side all out of balance.
4) So, here’s another tip: You can never have enough clamps. Ever. Because if you have enough clamps, you can do this: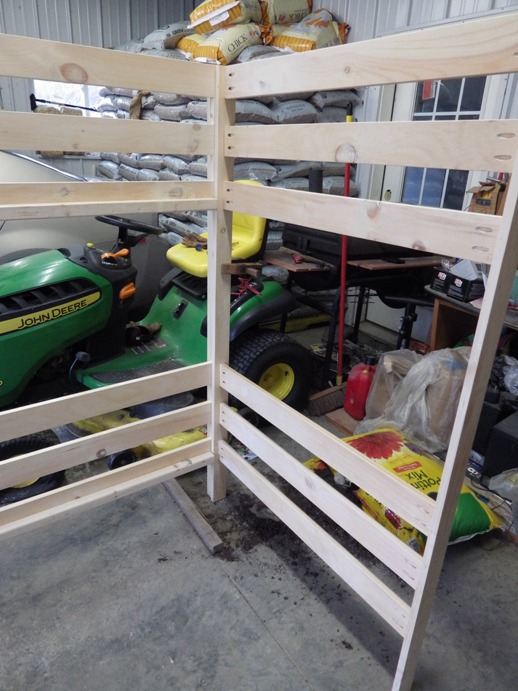 You can clamp up things that you are building, doing what’s called a ‘dry fit’. That is, the clamps are holding things together and you can see if things are square (that is, the sides are 90-degrees to one another and so on)and see issues before you try to do final construction, when you can make little adjustments to make things work. Those clamps saved me this morning.
So what else do we have to do? Well, we need to clamp the whole shebang together again and measure the inside of the frame, on top of the mattress supports so that we know how big to make the plywood mattress supports to be. Then, we’ll drill the holes for the screws through the uprights at the corners, paint the frames twice and allow to dry thoroughly. Then, I need to completely rearrange the guest room, we’ll move the ‘ladders’ and the plywood mattress supports upstairs and put the whole thing back together again. Then we can put in the mattresses for the little ones, make the bunks up and we’re ready for their next visit.

Aloha, Aunty Toby…! How much did the materials cost in total, screws, glue, and boardage…?