I know a lot of people out there LOVE to go to thrift and consignment shops. Sometimes it’s for the bargain hunting and sometimes, it’s for vintage. But sometimes, what they’ve got is…just…not….perfect. And yes, Aunt Toby knows I covered this sort of thing before, but I think it bears repeating and re-demonstrating, which is when things are not perfect, sometimes they are ‘just right’.
That is, they are big enough that you can do things with them, or modify them in a certain way, or are worth working with because they are made well or out of good solid stuff. And I’m here to tell you that many times, it’s worth it. Today’s experiment (which is actually just a variation of the theme I explored before) is making over another sweater which is very nice but which has a neck that I hated. Now, I realize some of you are asking yourself, “Why did you buy two sweaters with the same bad neck?” At the time, the price was right and I forgot what would happen to me if I wore a turtleneck like that in a very heated office environment (can we say “hot flash”? Bet you could).
So, as you saw if you viewed the videos, I had already decided that the best use I could get out of the tunic-length sweater was by making a deep vee-neck out of it so that I can wear other tops underneath it. I marked the vee-neck and ran myself some contrasting stitching around the vee and the back of the neck so that I had a guideline to use the ‘fake commercial seam-finishing stretch stitch’ that I have on my sewing machine.
Now, there are various ways to finish off a neck like this. I could have ripped down the knitted tube that was used for the turtleneck and used the yarn to knit a band around the neck. To do that,
1. Mark the center of the vee in the front of the sweater with a safety pin. You will want to make sure that you pick up that stitch.
2. Start picking up the stitches at the center back of the neck and pick up 8 stitches, skip one stitch in the sweater, pick up the next 8 stitches and so on until you get down to the stitch on the safety pin. Pick that one up and put a marker in it. Continue on picking up the rest of the stitches, as noted all the way to where you started. Work in ribbing for 2″, decreasing 1 st every row, each side of the center st of the V-neck. Bind off all stitches loosely.
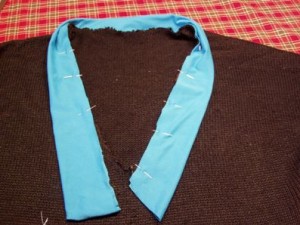 Another method is to sew ribbed knitted material or very stretchy knitted material in a band on the neck. Measure around the neck, cut the band twice as wide as you want it and an inch longer than the neck measurement. Pin around the neck and sew a narrow hem. Flip the ends to the inside and cross over one another at the front and hand sew down.
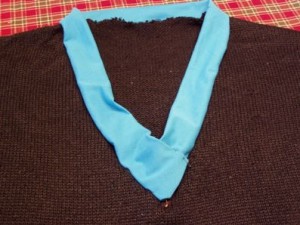
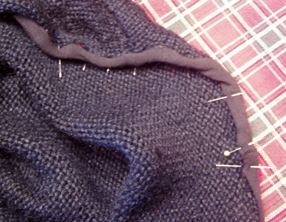
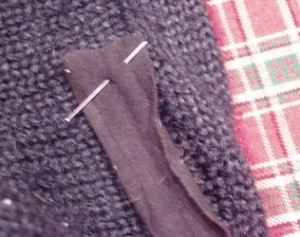 A third way of treating this (and frankly the way I did it) is to use a narrow strip of stretchy knitted material as a binding. Starting at the back, pin the strip flush with the edge and sew around, stretching it a little bit as you go to pull the neck in a little bit. At the beginning, fold over the edge of the binding fabric and sew over the original edge of the strip. Then, folding over one edge and stretching it a little bit, bring the strip over to the inside and pin all around the edge. This hides the raw sweater edge inside the binding, finishes off the the neck line of the sweater and voila!
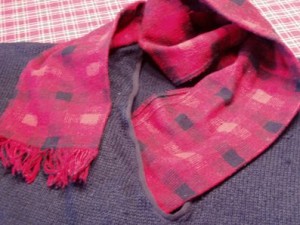

I see a lot of these sweater renos in hip boutiques, some far more successful than others. I like the effect when the designer cuts a sleeve near the elbow (which I supposed wore through) and sews other sleeves onto it, very cool.