 This fall at Chez Siberia has been ‘one for the books’ as they say. We are within a couple of weeks of Thanksgiving (US) and it frankly is a beautiful sunny day in the upper 50s. As a matter of fact, I did some gardening earlier today when I discovered that I’d missed a couple of garlic bulbs in the garden and they’d all sprouted (more on that in another paragraph here). For anyone out there who is somehow doubting that there is climate change, I have to say that our garden certainly shows that the climate is not what it used to be. When your Aunty was just a young person, by this time up here, we already had snow on the ground and it was sticking. The ground might now have been frozen all the way down but the top couple of inches were probably frozen enough that the snow did not melt. As a matter of fact, we used to take a yearly trip down to just north of New York City and the temperatures there on Thanksgiving Day were colder than it is here today. We definitely had to wear our winter coats in New York – no one is wearing a winter coat here today – it’s in the 50s.
This is not to say that we have not had any hard frosts – we’ve had several temperatures down to the low 20s here, which killed off anything not hardy – but certain veggies in the garden are still going strong, so I recommend them to anyone who is thinking about doing some fall vegetable gardening next year – if these will survive for us here, I think we’re safe in saying that they will do ok for anyone south of the Canadian border.
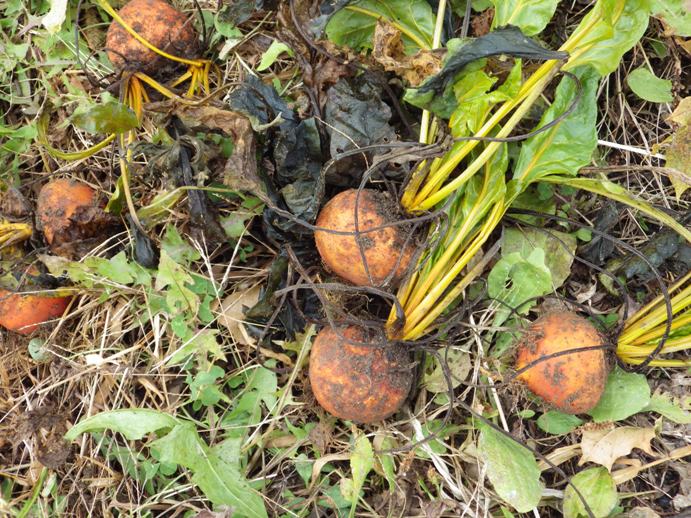
First (see the photo above) are the two veggies we grew from the BEET family: Beets – in this case, Golden Beets – and Chard – in this case, Rainbow chard. I am very fond of Rainbow chard – it is very decorative in the garden, with the yellow, pink, red, orange and white stems and the dark green leaves.  As you can see from the photo – even after several very hard frosts, the centers of the chard are still growing and looking very good. I leave the outside leaves to protect the ‘hearts’ but these are definitely worth growing (very nutritious, some people feel they are even more nutritious than kale) and have held their own all growing season and into the fall. I’m not sure that they could handle temperatures less than 20 degrees F. Once we have some night temps in that range, I will report back.
Second are items from the CABBAGE family: In this case, pac choi. This is a very hardy veggie – as a matter of fact, this one is a volunteer from last year’s garden – so last year’s plant blossomed, set seed and the seed basically got blown/moved/whatever on top of this soil and it grew there on its own. And last winter, we had temperatures as low at night as 27 degrees BELOW zero F. This is one hardy veggie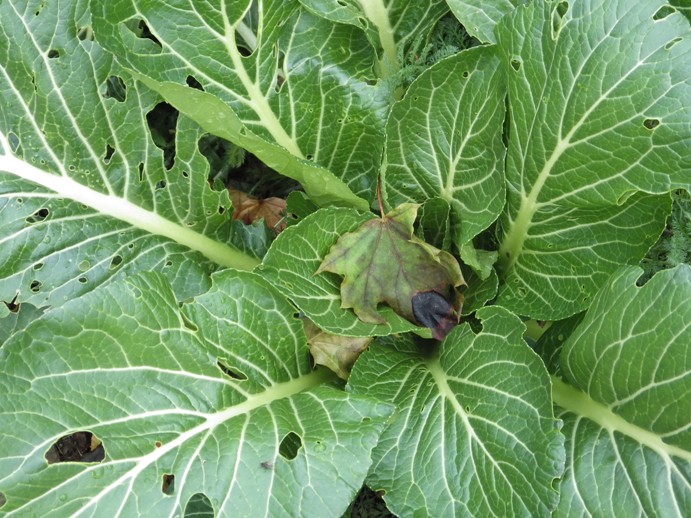 and even after some very harsh night temperatures, this plant is still growing and producing edible vegetables.
Third is a vegetable referred to as ‘cutting celery Apium graveolens var. secalinum. Same family as the ‘stalk’ celery that you find in grocery stores – but this is grown for it’s leaves. The stems are rather fine but they are also crunchy and the whole plant – leaves and stems – taste wonderfully of celery and are used in Mediterranean and Asian recipes. And, as you can see from the photograph – it is also tremendously hardy. 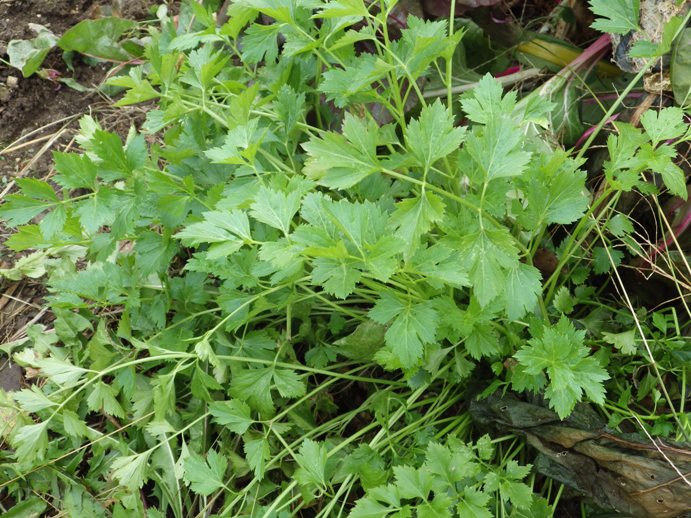 I’m thinking that I should dig up a chunk of it, trim it back and put it into a pot with potting mix to provide us with fresh greens in the winter time.
As for the garlic – I always do a quick look at this point in the year because if I’d missed pulling out a garlic bulb, it will have sprouted (which makes it very easy to spot – it’s a whole clump of green garlic leaves). Now the best thing to do at this point, is not to leave it in the garden. So, I dug the three bulbs I’d missed, separated out the sprouted cloves – which all had very luxurious roots growing off the bottoms of them – and replanted them in an empty spot in a bed, spacing them out 4-6″ apart. Although it will have been a bit of a shock to the plants to be dug out of the soil at this point in the year, they will probably do just as well over the winter and spring as any other garlic cloves that we planted earlier this fall. If you find a bulb in the spring that got missed, you can do the same thing – it will be set back a little bit and the bulbs might not grow as large as if you’d found it and separated the cloves in the fall, but you will still get really good garlic and certainly better than what you can get in the grocery store.
What else did we do with the garden this year? Well, in addition to growing peppers for paprika, we also grew a whole row of hot peppers. Now, again, in years past, we have not had very good luck with peppers at all, hot or sweet and this year was amazing in terms of the different kinds of hot peppers we got and the production we got. 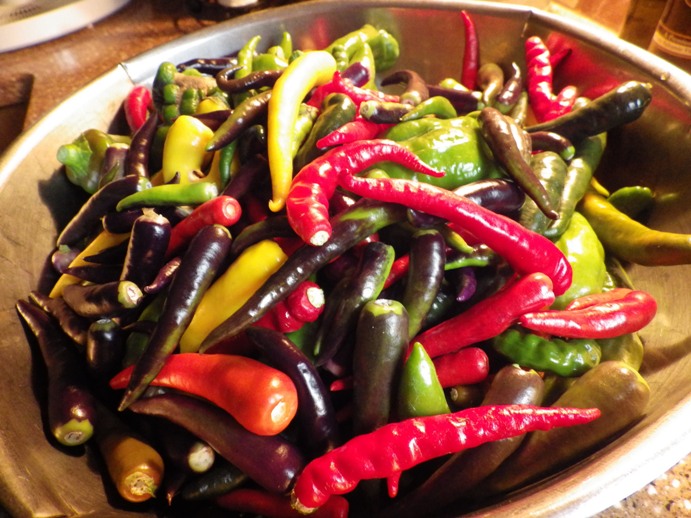 I sowed a hot pepper mix (because I’m like that – I like a lot of variety and color) and a cayenne mis so we had a lot of variety, from wee purple peppers in the shape of Christmas tree lights all the way to hulking 8″ green and red ones, carrot-shaped ones and everything in between. The whole purpose of this was to make hot sauce as gifts for the holiday season (last year it was vanilla extract; this year everyone gets hot sauce).
Making hot sauce really is simplicity itself. All you need are hot peppers (which even if you don’t grow them, you can probably get from your local grocery store), white vinegar, and a little salt. If you want to go crazy, you can put in tomatoes, garlic and so on (check the internet for recipes – there are literally a jillion of them). The difficult part – is that you also need the following:
Food grade plastic gloves
a sharp knife
a food processor or food mill
a steel saucepan (do NOT use aluminum for this – the hot sauce will pit the heck out of the saucepan)
canning jars, bands and lids (prepared as the directions instruct in a canning book – wash, rinse, heat up the bands and lids in hot water; bake the jars in a 350 degree F. oven)
a jar lifter and a set of tongs to handle the hot jars and lids and bands.
How to:
Prepare the peppers:
I’d advise NOT doing this in the depth of winter because you are definitely going to want to open the windows in the kitchen to do this. Better yet, open the windows AND use a fan to blow any fume away from you and out the window.
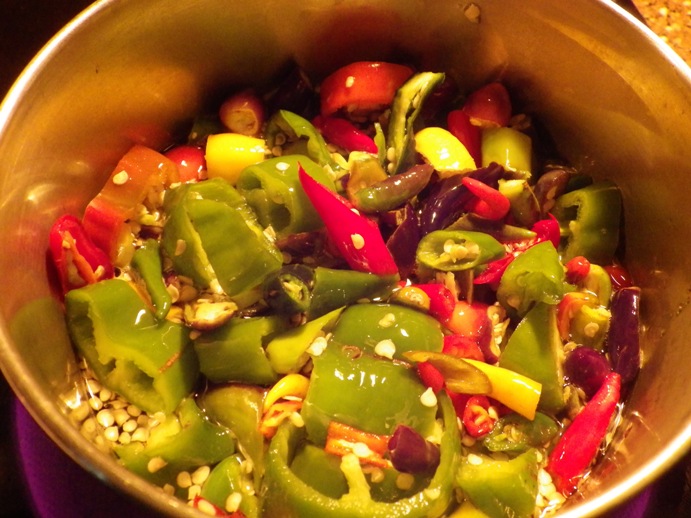 Wash the hot peppers thoroughly and wearing gloves (and goggles if you got ’em) chop off the stem end. If you want the hot sauce to be not so hot, take out the seeds and the membranes that the seeds are attached to. Otherwise, just chop ’em up and put them in the saucepan. Add enough vinegar to cover, plus 1/2 tsp of salt. Add any other ingredients at this point as well – chopped up garlic, tomatoes and so on.
Bring to a simmer, cover and simmer for 15 minutes until the peppers are extremely soft. Put everything into a processor and put through a fine mesh strainer. If you are using a food mill (see photo), the scrape out what is left after you use the mill and dispose of that.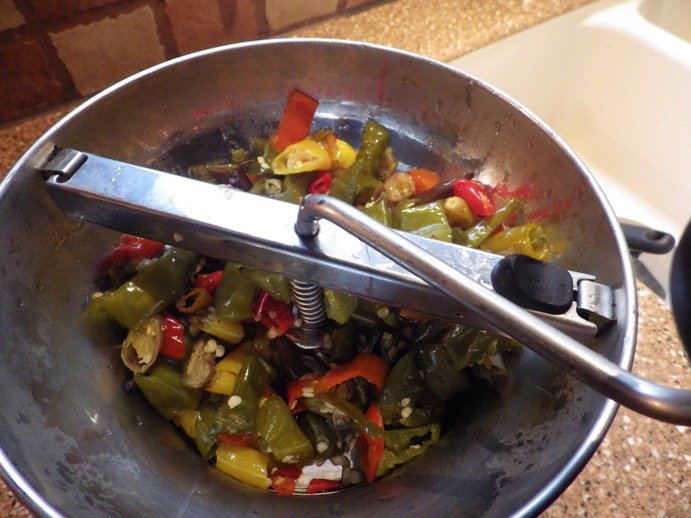
Put this back on the stove and bring to a boil and put into the jar or jars (and don’t forget to label the jars). Put on the lids and bands and allow to cool (the top should do it’s usual ‘ping’ thing and suck down. Put the jars in a dark cool place to age at least a month, preferably two months. If you want to bottle this in nice little hot sauce bottles (and again, go to the internet and search under something like “supplies for making hot sauce’ or ‘bottles for making hot sauce’), you will want to take the aged hot sauce, heat it up again and bottle it in clean hot bottles according to canning directions.
Last weekend, we took out the hot sauce for a try.
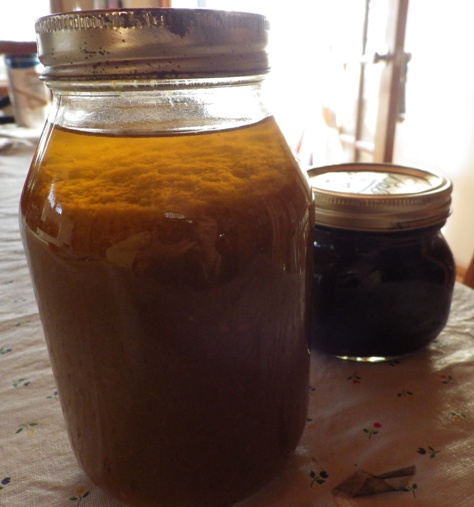 We’ll be bottling this in nice little hot sauce bottles for gifts, but I can tell you this: My sinuses have not been the same since.
Enjoy!!