 You would think that your dear old Aunty would never admit to doing this, but I did.
I was seduced (seduced! I say) by marketing copy and price. “These pruners are designed for comfort for people with small hands.”
Small hands.
Yes, they were comfortable and I do have small hands (not small for my size, actually – I’m pretty short and the hand size goes along with that). And I have to admit that they were referred to as ‘light duty’.
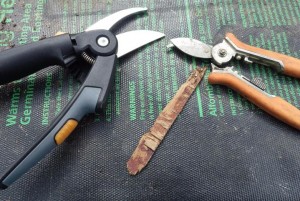
‘Light duty’ must have meant ‘trimming the spent heads off perennials’ of some such thing because as you can see from the photo at the top, they gave up the ghost.
For a closer idea of what happened, here is your requisite close up: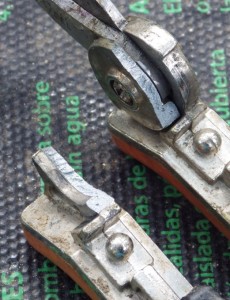 Steel casting that just frankly got pushed beyond its spec. Which must have been something like 1/8″ in diameter.
OK, I admit it. I push tools long past their useful life. I have a tendency to ‘horse’ (as my dear departed father would express it) the thing around and then when the handle flies to pieces or something gets bent, well, I have no one to blame but myself.
So, I bought myself a new, bigger set of pruners (with the new! improved! rotating handles which will be so much better for my ‘small hands’), which are specified for 3/4″ diameter branches.
Do you have any idea who small a 3/4″ diameter branch actually IS? That’s smaller than the diameter of your thumb. 80% of what we have to cut back and cut down (fie, honeysuckle! Fie!) here at Chez Siberia qualifies as being over 3/4″ in diameter.
What to do?
Well, our next ‘weapon of mass destruction’ is the set of loppers. loppers We own a set of these and although they say they will handle anything up to 2″ in diameter, I have to tell you that anything over 1″ requires some rather interesting body mechanics on my part so that I can wedge both handles into my chest so that I can use the force of both arms. It works but it…leaves a mark.
Another option for the 2″ plus is a pruning saw, and we’ve found them to be both easy to use and very effective, even on branches which are 3″ in diameter. I happen to like the folding one (that is, the blade folds into the handle), which makes it easier to slip into a pocket. The teeth on these are rather impressive and we use them to cut right to the trunk, which makes pruning fruit trees a lot more effective.
Finally, I have to bring up the last and most destructive (and frankly, most dangerous) tool to cut off branches: The powered chain saw. There are models on offer which are so small that one might be tempted to try to use it one-handed (ack!). If you have a lot of nasty huge bushes (with big 6″ trunks to get through), a chain saw is your tool of choice unless you go for an axe (which has it’s own skill set and dangers as well). Anything with that level of power can cut off pieces of bodies very easily and if you are considering getting one, find a dealer which offers a workshop on using one safely. The DH wears a helmet (with a face shield, metal screen and ear protection) and Kevlar chaps whenever he uses our chain saw and I think everyone should wear safety equipment when they use anything like that. He also wears steel-toed heavy boots with thick soles and wide heels to give himself a solid position when he uses it.
In the end, however, the point is this: Don’t try to use a tool for other than its intended use and buy the size for the job.

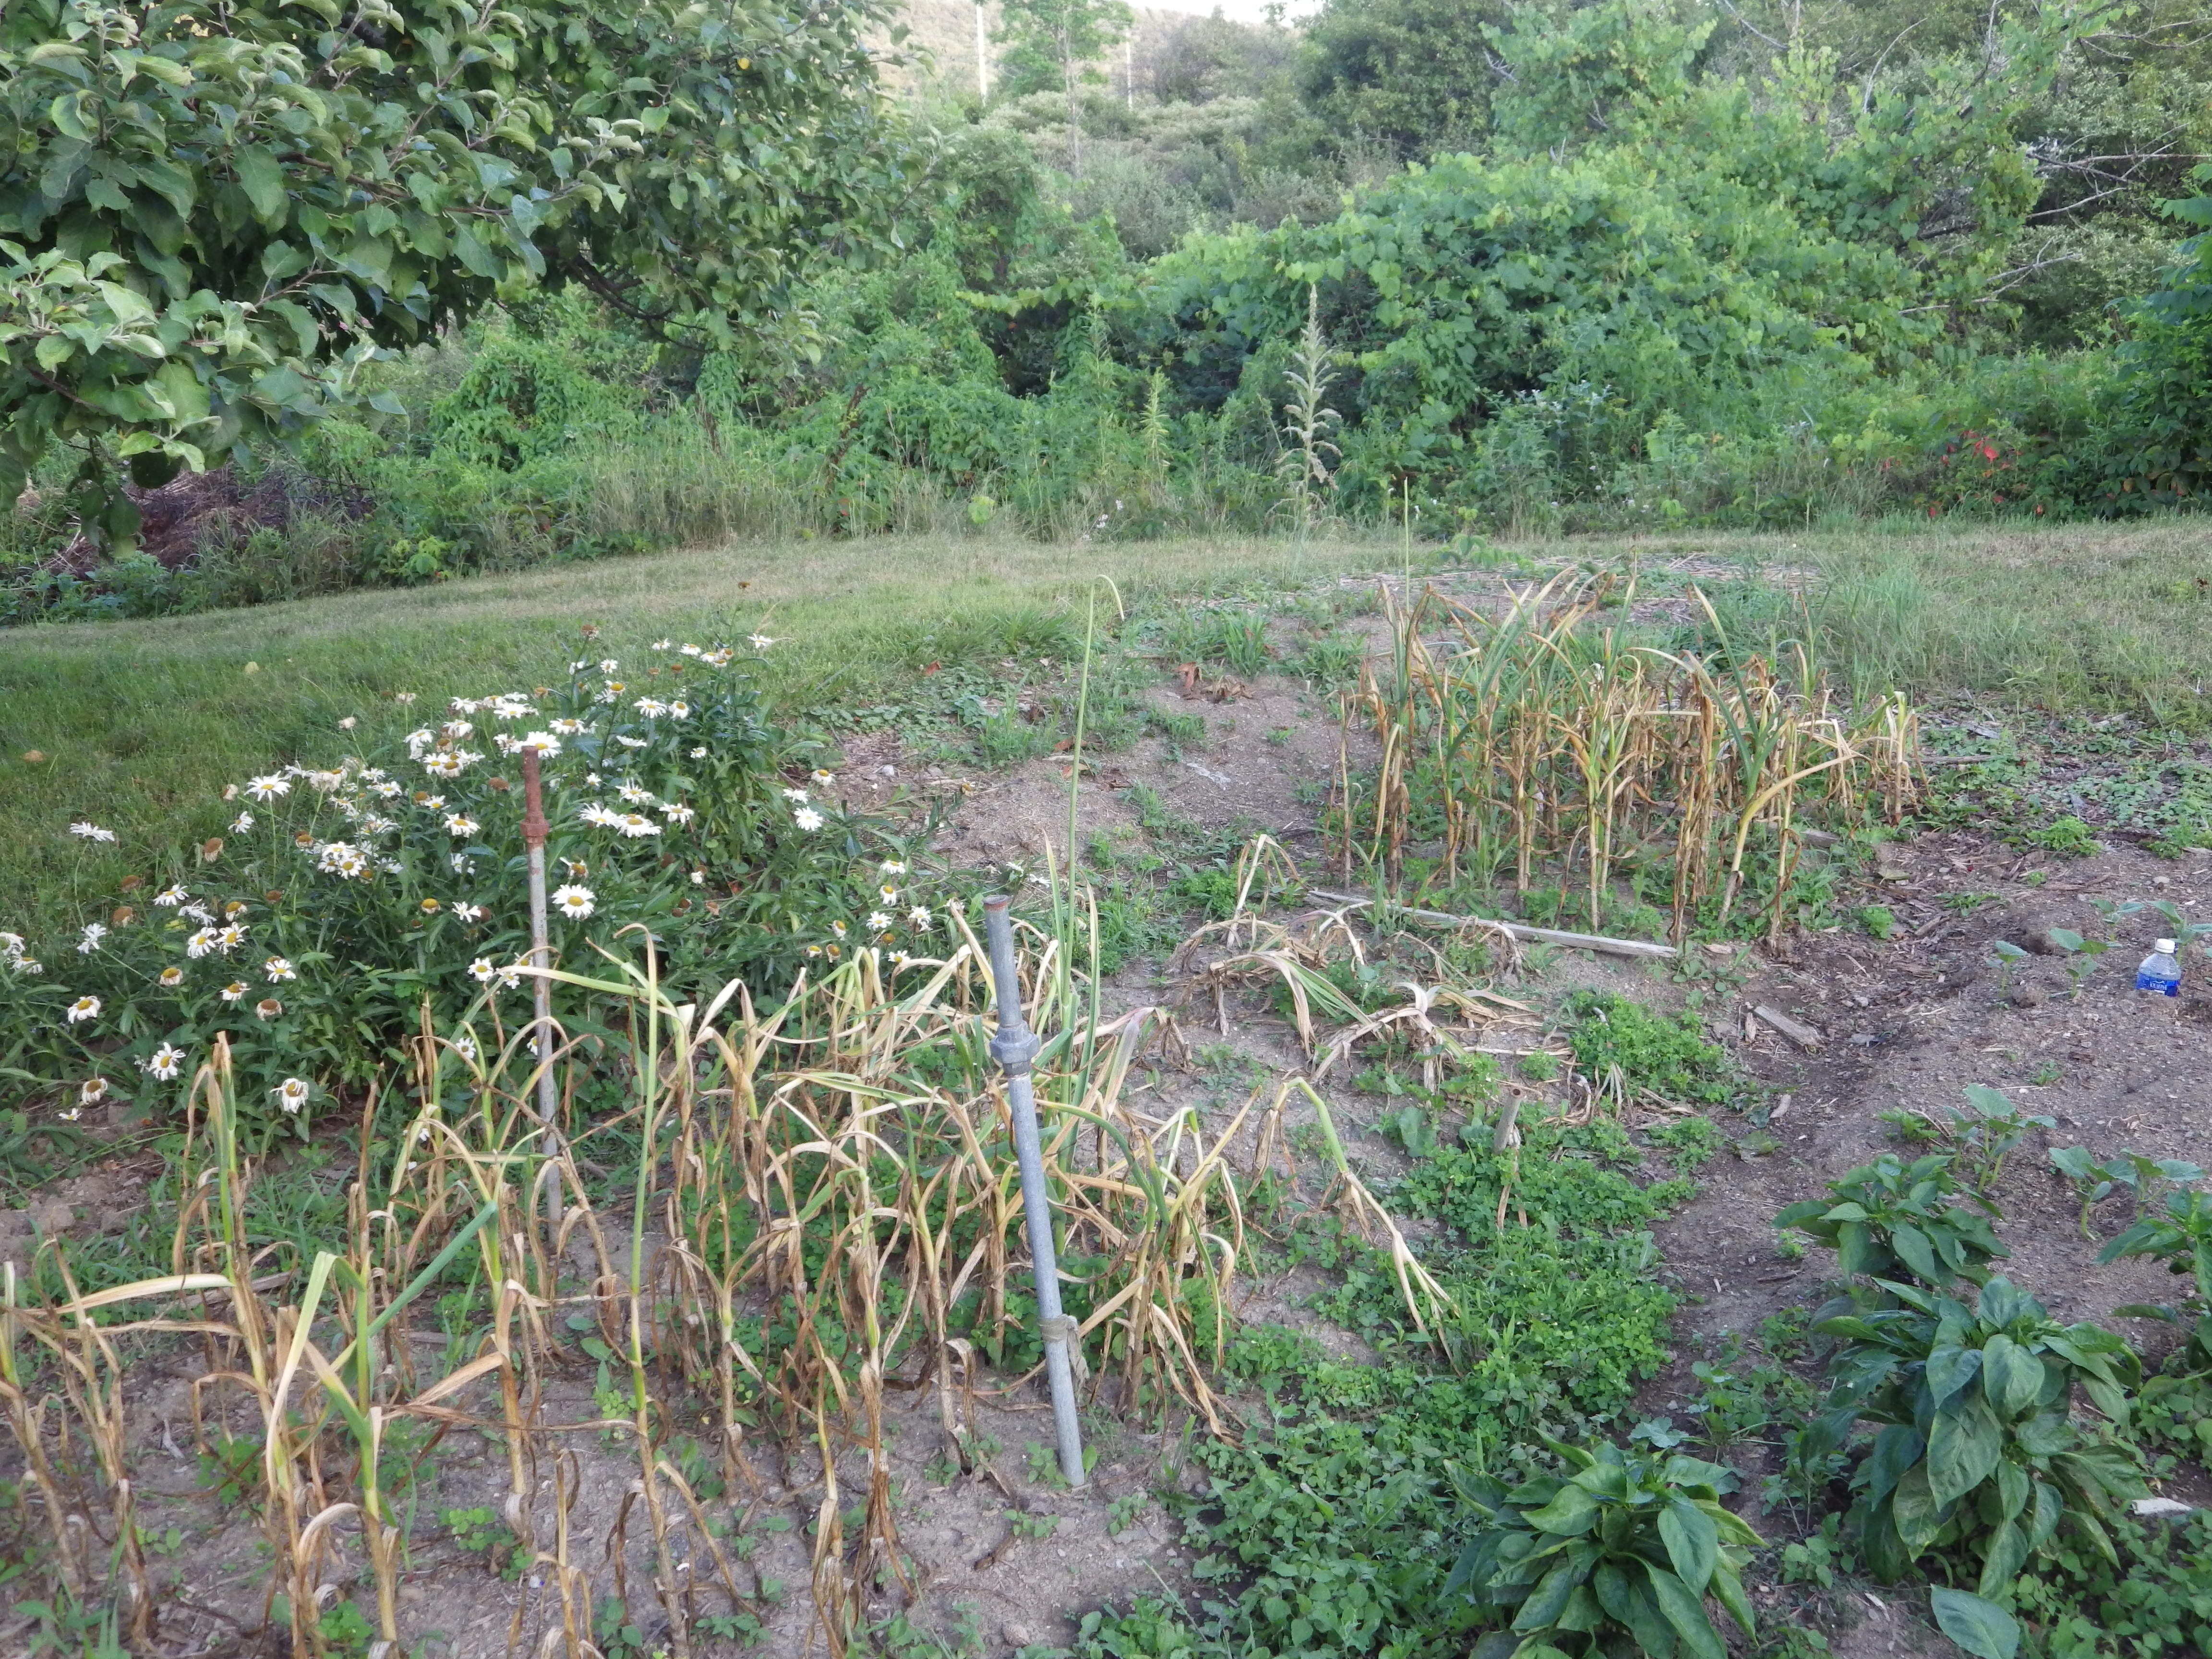
 Hello again. Now,as I sit here, looking out the window, with the snow all around, my thoughts hover closely on this spring, summer and fall and what I want to do in the garden (as do we all). And like all projects that are really long-term, it’s difficult to think so many months ahead, not knowing what the weather is going to be like, what sots of problems we might meet and so on.